Painting with Light...
Painting with light
is a fun technique that gives great results. It is called painting with light
because this is what you are actually doing while taking the shot - painting
with light.
You don't need much
to experiment with this kind of shot, just make sure you have the following
items:
1. A camera capable
of long exposures - film cameras will work OK, but if you really want to get
the most out of the shooting session, use a digital camera. You will be able to
see the results in "real time" and make corrections as you go.
2. A nice tripod.
Since you will be doing some long exposures you want to make sure your camera
sits still. If you don't have a tripod you can make one in a few minutes (see this article or this one).
3. A flash light,
laser pointer, or other hand held light source.
4. A dark
location. At home - a dark room will be
OK. If you are going to shoot outside - make sure that you are not doing this
under a street light, or where a car can come by and "paint its
headlight" all over your shot.
5. Set the exposure
to a relatively long value, start at ten seconds, stop down the aperture as
much as you need. If you are outside do nothing. If you are inside - this is
the time to turn off the lights.
6. Once the shutter is open use your flashlight to light what you want
to "paint". You can use the flashlight as a brush, and
"smear" the light, just like you would have done with brush and
paper. Or, you can use the light as a pen, and do precise work. Areas where you
go slowly will be more lit then others. Be careful not to linger too much over
the same spot or you will burn it. Once the shutter closes, turn on the lights
and Inspect your image and make corrections.
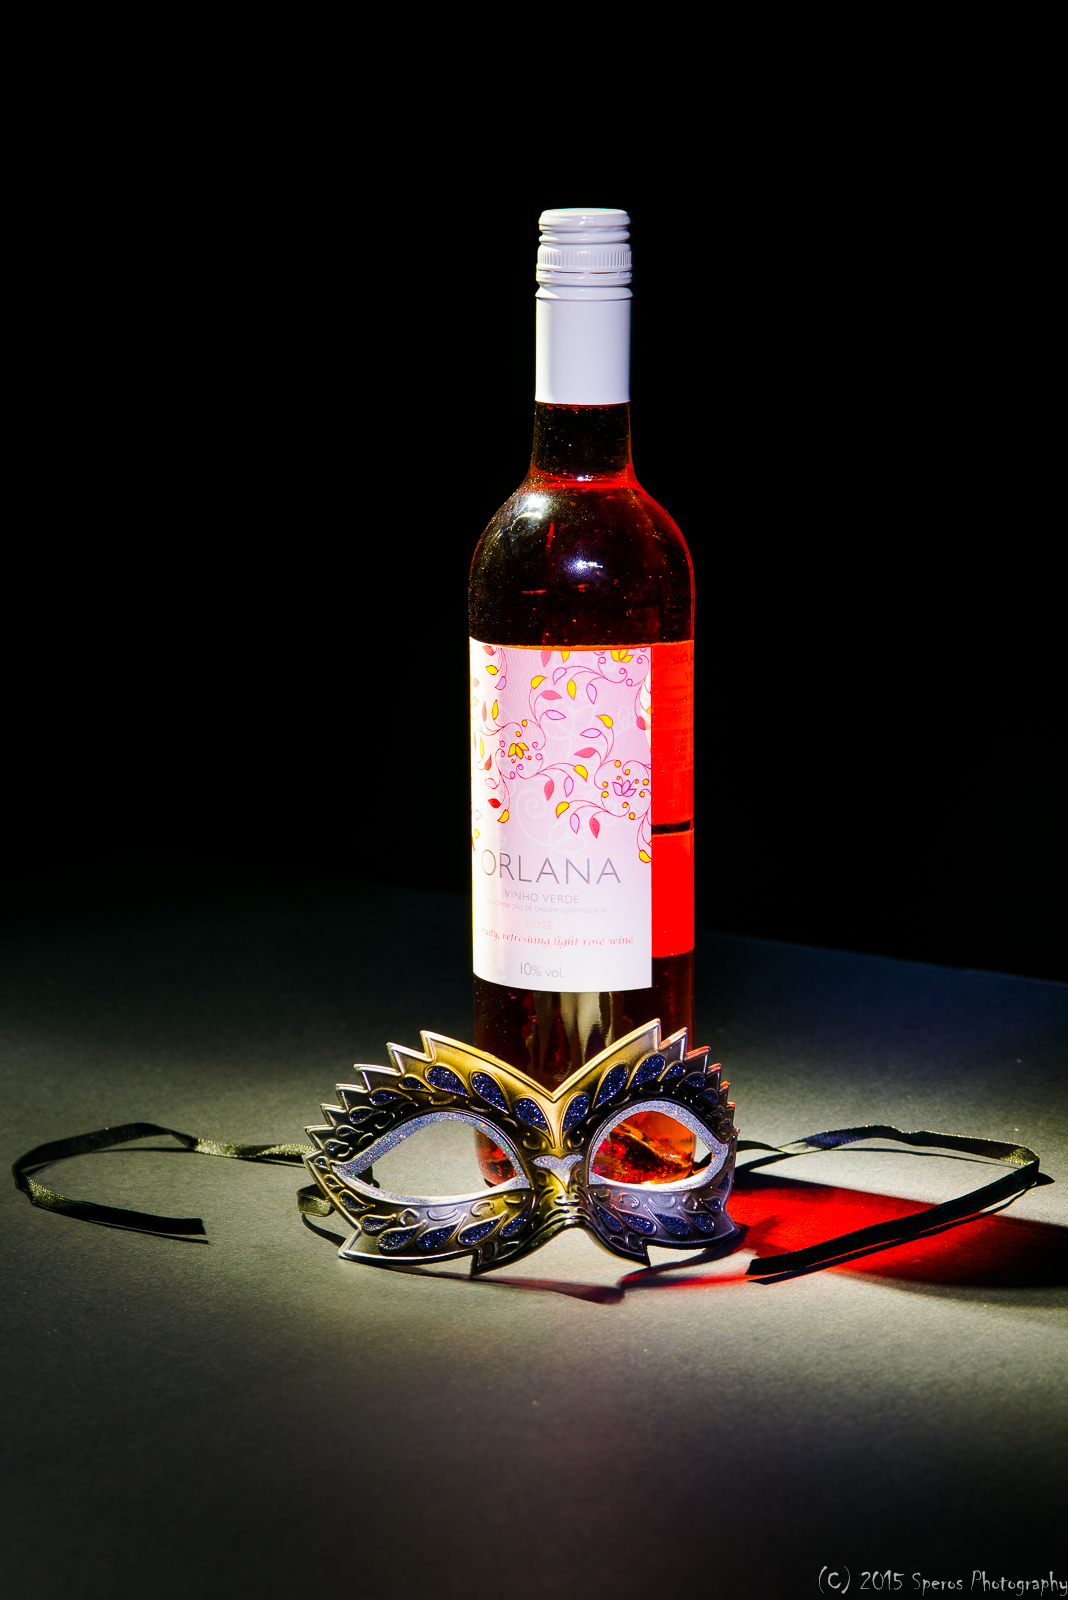
The accompanying
photos are from a session I attended at the Photography Adventure Club in
Phoenix http://www.photographersadventureclub.com/photography_specials/


No comments:
Post a Comment